Το συγκεκριμένο δεντράκι το είχα προμηθευτεί σε πολύ χαμηλή τιμή από αποθήκη ειδών γάμου και βάπτισης και είχα κάποια στιγμή στο μυαλό μου να το μετατρέψω σε stand κοσμημάτων.
Τελικά το χρησιμοποιήσαμε με τα πιτσιρίκια για να φτιάξουμε τις 4 εποχές.
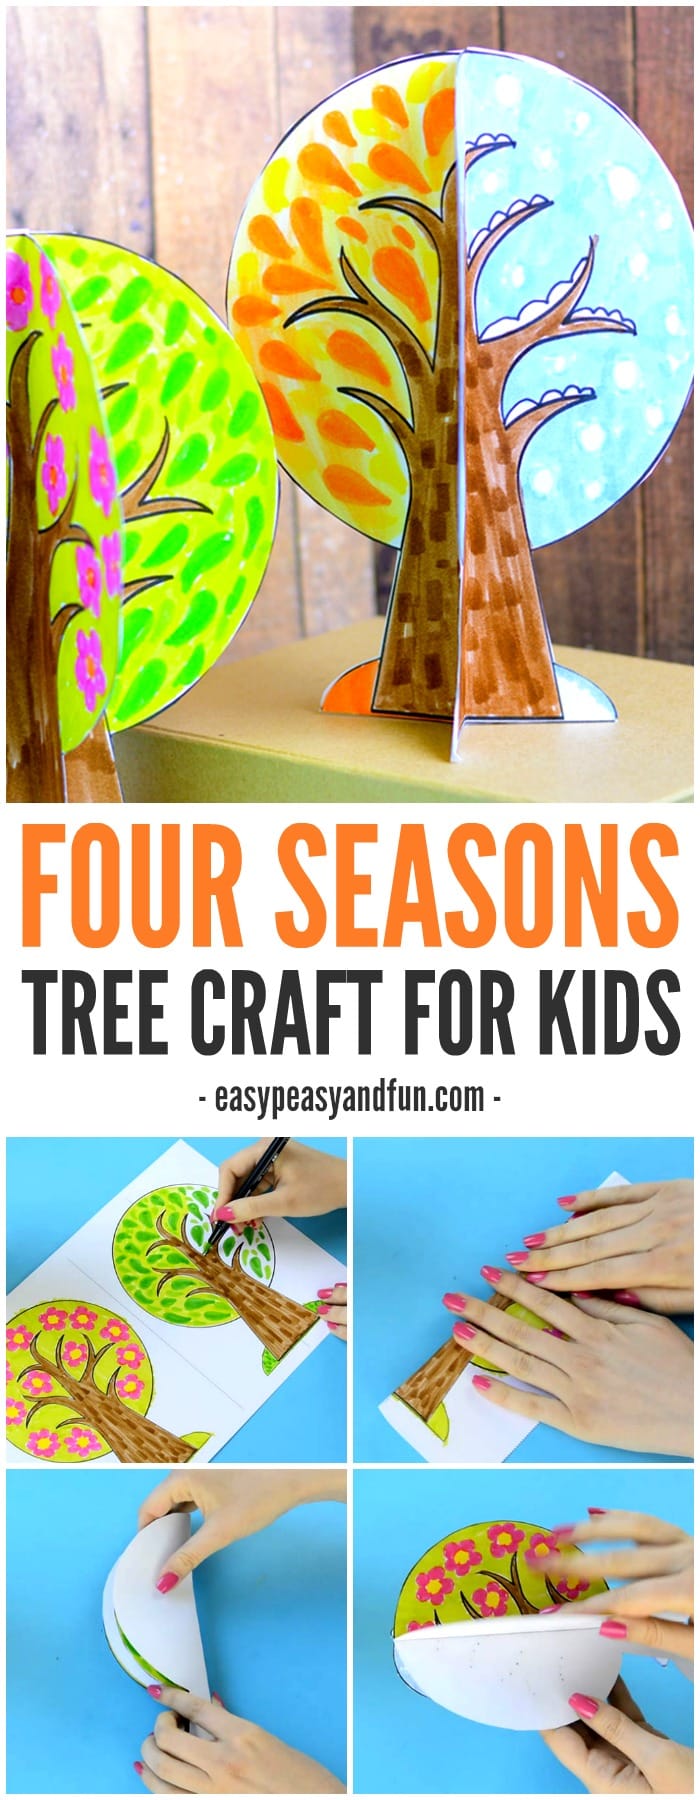
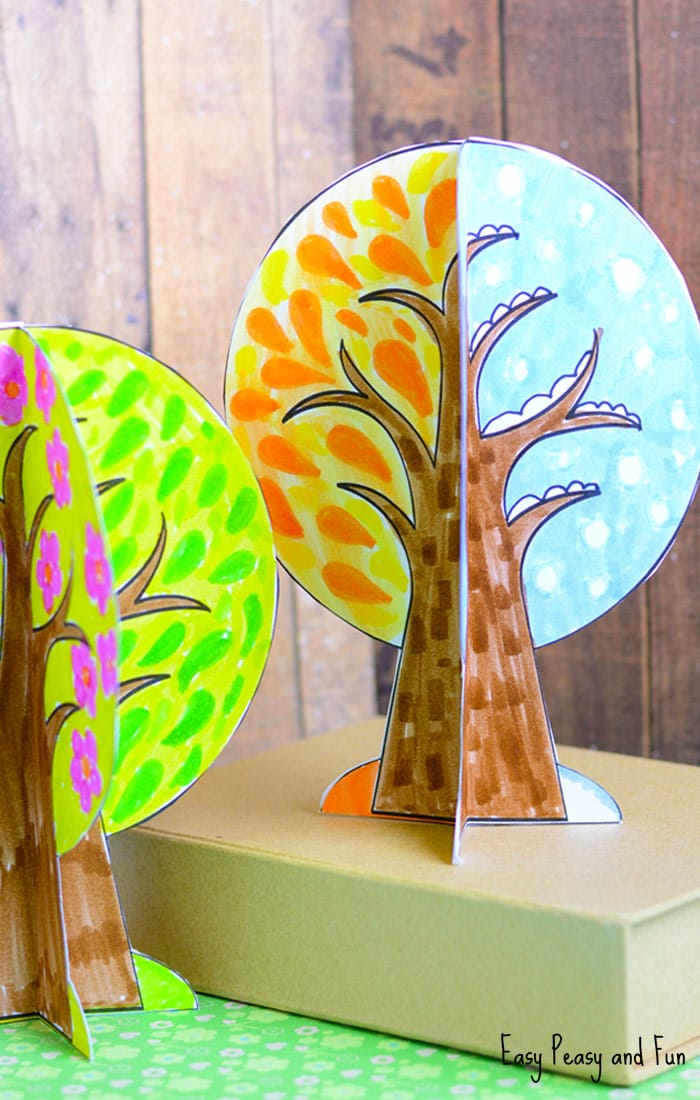
We have a wonderful four seasons tree craft template to share with you, this one can fold nicely into a 4 seasons book or you can assemble it together to stand on it’s own.
Print our template, there are more versions, and have the kids get creative with their seasons.
We
thought a nice little four seasons tree craft would be a nice addition
to exploring and learning about the seasons of the year. This can be a
fun four seasons craft for kindergarten, as well as for preschoolers
although assistance from parents or teachers will be needed.


We printed ours on heavier print paper. Regular print paper will work out OK too (just not as stable and durable).
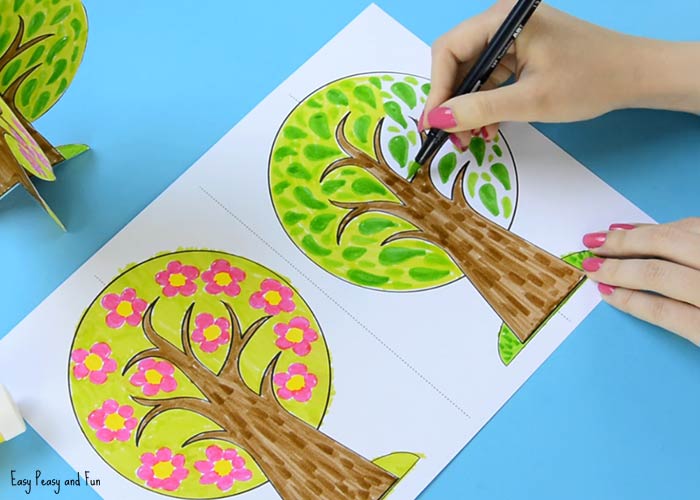
Once you have your templates it’s time to get creative and color them all.
Have the kids color one tree for each season. Let them get as creative as possible.
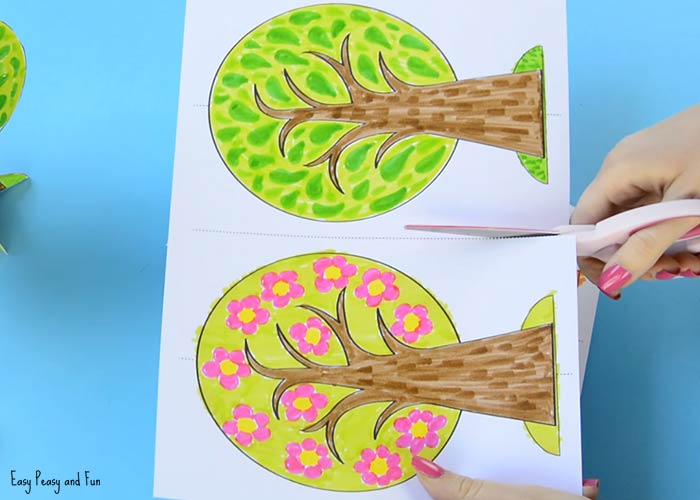
Once all is colored cut the sheet of paper in half (along the dashed line). You can naturally cut them in half before the kids start to color.
Now we need to fold the trees in half!
Now take the fall tree and glue it on top of the spring and summer tree.
Continue with the winter tree.
Αυτό που κάναμε ήταν να βάψουμε με τέμπερα την κάθε μία από τις 4 πλευρές του:
Άνοιξη ~ ροζ (κόκκινο και άσπρο)Καλοκαίρι ~ πράσινοΦθινόπωρο ~ καφέ (κόκκινο και λίγο μαύρο)Χειμώνας ~ μπλε
η συνέχεια εδώ:
🌳🌳🌳🌳🌳🌳🌳
Four Seasons Tree CraftWe have a wonderful four seasons tree craft template to share with you, this one can fold nicely into a 4 seasons book or you can assemble it together to stand on it’s own.
Print our template, there are more versions, and have the kids get creative with their seasons.
Four Seasons Tree Craft
There are many ways the kids can decorate
this project and there certainly is no need to limit yourself to
markers, crayons, or pens! With scrap paper, tissue paper pom poms and
other materials that “pop” you can give this 4 seasons tree craft even
more dimension.


We will
talk about ideas for decorating the seasons a bit more in the tutorial
itself (we’ve got quite a few for each of the season).
Ready to make your own tree? Go through the tutorial and grab our craft templates!
How to Make the Four Seasons Tree Craft
What you need:
- our Four Seasons Tree Craft template (you can grab it at the end of the tutorial)
- printer
- heavier print paper
- coloring medium (crayons, markers, pencils…)
- glue
- scissors
A Few Ideas for Four Seasons Art Before We Start
Spring- cherry blossom tree with finger painting
- making flowers out of tissue paper
- making flowers with pom poms
- drawing a bird nest with eggs
- painted pop corn
- yarn scraps
- paper mosaic with different greens
- painted pop corn
- tissue paper
- yarn scraps
- yarn scraps
- red pom poms for apples
- tissue paper
- using pumpkin seeds for leaves
- using other seeds (corn,…)
- puffy paint for snowflakes
- cotton balls for snow
- white pom poms for snowflakes
Watch the Video Tutorial for Four Seasons Tree Craft
Or Follow These Step by Step Instructions
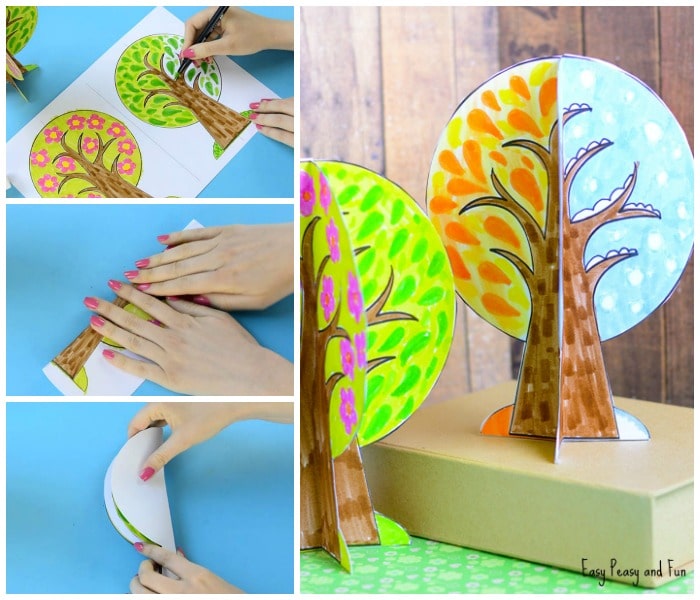
Print out our craft templates. You will need 4 trees for this craft (whichever template you choose).We printed ours on heavier print paper. Regular print paper will work out OK too (just not as stable and durable).
Once you have your templates it’s time to get creative and color them all.
Have the kids color one tree for each season. Let them get as creative as possible.
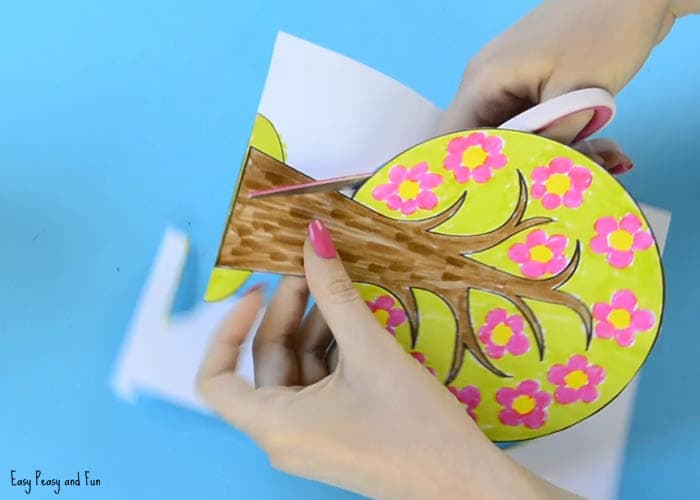
Once all is colored cut the sheet of paper in half (along the dashed line). You can naturally cut them in half before the kids start to color.
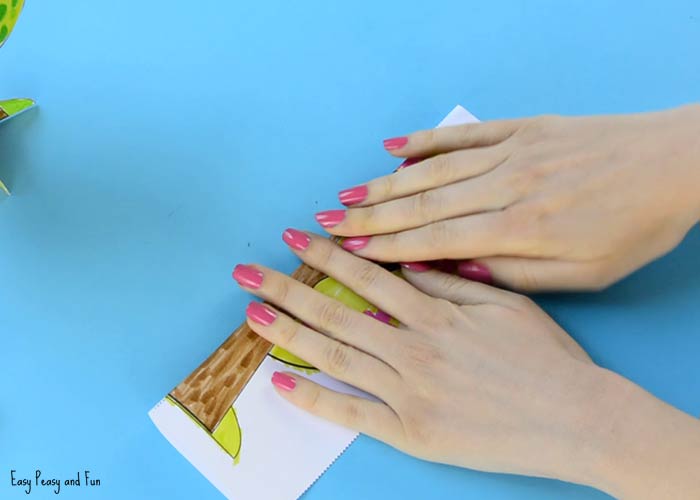
Now we need to fold the trees in half!
There are two ways of doing it. You
can do it before you start cutting as we did – there is a dashed line
at the top and at the bottom of the tree indicating where the middle is.
Fold along that line.
You can also cut out the trees first and just fold them in half when they are already cut out.
Cut out the trees.
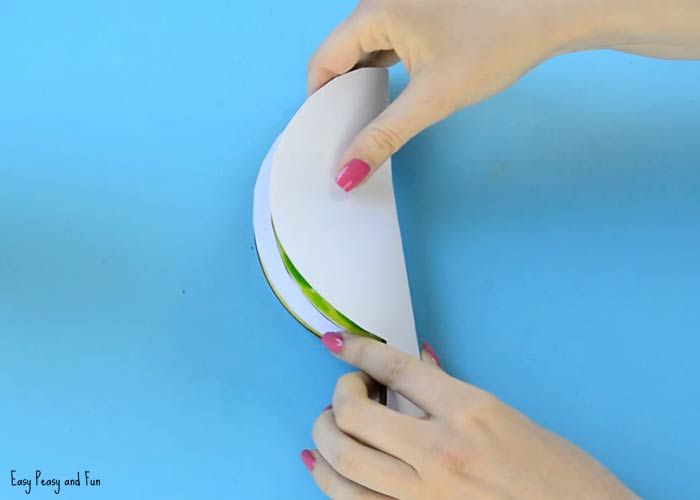
Fold in half again, this time with the colored side inside.
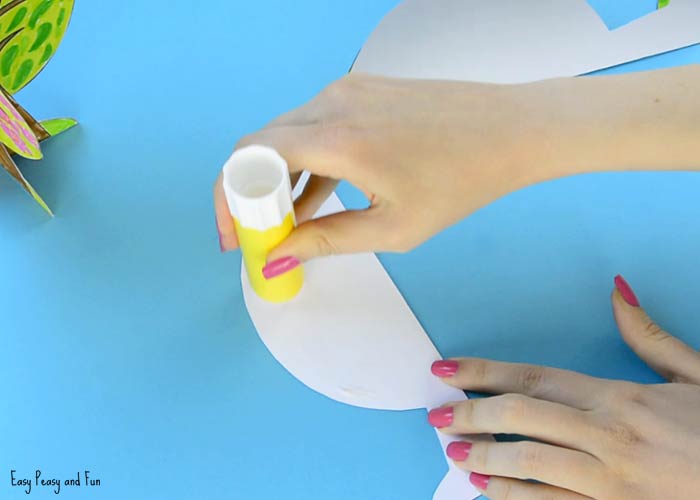
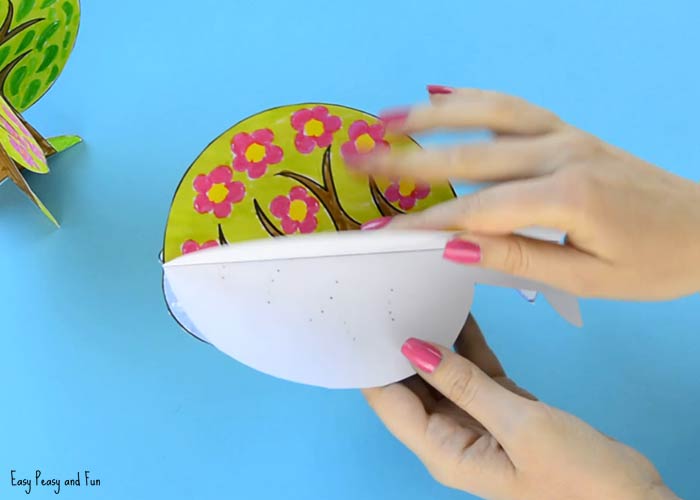
Fold all four trees. Take the spring tree and apply glue on one side (as shown in the image bellow).
Take the summer tree and glue it on top of the spring one. Press down for the glue to set.
Now take the fall tree and glue it on top of the spring and summer tree.
Continue with the winter tree.
Now to make a four seasons tree craft, apply the glue on the “winter” and glue the winter and the spring together.


Δεν υπάρχουν σχόλια :
Δημοσίευση σχολίου